
Light Metering and Exposure Compensation – Made Simple –
Most modern SLR, DSLR, and mirrorless cameras feature a built-in light meter that offers a variety of different metering modes.
No matter the camera, the technical goal of light metering remains identical: based on the selected film or sensor sensitivity (ISO, ASA, DIN), the camera aims to calculate the perfect combination of shutter speed and aperture value to ensure the main subject is correctly exposed.
A "correctly" exposed image means it is neither too bright nor too dark—shadows don't block up (clip to pure black) and highlights aren't "blown out" or overexposed. Of course, this describes an ideal scenario. Depending on the scene's high contrast, this perfect balance often cannot be achieved in-camera and requires subsequent post-processing in the darkroom or on a computer. Camera manufacturers have continuously advanced built-in light meters, leading to a wide range of systems and brand-specific terminology on the market.
A Quick Overview of Common In-Camera Metering Modes
-
Center-Weighted Metering (Integral): This classic method utilizes the entire photographic frame to determine exposure. It factors in the whole image area equally, without placing special emphasis on any single section.
-
Center-Weighted Average Metering: This mode evaluates all the light hitting the film or sensor but assigns significantly more weight to the center of the frame than to the edges. This is based on the practical assumption that the main subject is more frequently located in the center of the composition.
-
Evaluative / Multi-Segment Metering: An excellent, universal metering mode that handles tricky situations like backlighting remarkably well. The camera automatically assesses the scene and adjusts exposure based on the specific shooting conditions. Multi-segment metering is simply another term for this mode, used by systems like the Pentax 645N or NII. However, as you can see in the video, even this advanced method has its limitations.
-
Matrix Metering (Nikon Models): This setting delivers natural-looking exposure results in the vast majority of shooting environments. The camera measures brightness across a wide area of the frame, analyzing tonal distribution, color, and composition. When using a CPU-enabled lens (Type G, E, or D), it also factors in 3D distance information (3D Color Matrix Metering III). For other CPU lenses without distance data, it defaults to standard Color Matrix Metering III.
-
Highlight-Weighted Metering (Nikon Models): The camera biases the exposure strictly toward the brightest areas of the scene. This method is incredibly useful for preventing detail loss in the highlights, such as photographing stage performers under intense spotlights.
-
Partial Metering: Only a specific, restricted part of the subject is used for the exposure reading. The partial metering area is indicated in the viewfinder and covers only a small percentage of the frame. For instance, on the Canon EOS R6, the partial metering area encompasses exactly 5.8% of the total frame.
-
Spot Metering: An even more precise method where only a tiny fraction of the frame is metered. The spot circle is visible in the viewfinder; on the Canon EOS R6, it covers just 2.9% of the frame. On many modern bodies, the spot metering circle can be linked directly to the active autofocus point.
-
Multi-Spot Metering: This allows you to take multiple individual spot readings (as described above) across different areas of the scene. The camera then calculates the precise average value. Note: Only use this under controlled lighting conditions. It requires experience to know which points to sample and whether the dynamic range of the scene can actually be captured by the film or sensor.
Live View and Exposure Compensation
Modern mirrorless digital cameras offer the distinct advantage of displaying the scene in the electronic viewfinder (EVF) or on the LCD exactly as it will be captured. If this setting is enabled, you can see the immediate impact of your metering and use the Exposure Compensation Button (marked with "+" and "-") to make adjustments and track them "live."
This button alters the baseline exposure values calculated by the camera:
-
The "+" Setting (Overexposure): Intentionally allows more light to hit the film or sensor than the meter suggested. The camera accomplishes this by either slowing down the shutter speed (e.g., from 1/125 sec. to 1/60 sec.) OR opening up the aperture (e.g., from f/8 to f/5.6 / a smaller f-number).
-
The "-" Setting (Underexposure): Reduces the amount of light hitting the film or sensor. It speeds up the shutter time (e.g., from 1/125 sec. to 1/250 sec.) OR narrows the aperture opening (e.g., from f/8 to f/11 / a larger f-number).
In both examples above, the exposure value was adjusted by exactly one full stop (EV).
Vintage Camera Quirks
On older analog cameras, you won't always find the modern "+" and "-" exposure compensation icons. Some vintage icons like the Canon A-1 or Contax RTS use multiplication factors instead:
-
"x2" or "x4": Represents an overexposure of one or two full stops, respectively.
-
"x1/2" or "x1/4": Represents an underexposure of one or two full stops compared to the calculated reading of the built-in light meter.


A Clever Workaround for Analog Cameras
However, there are many cameras designed for 35mm film (135 format) or other film sizes that lack a dedicated exposure compensation button.
Fortunately, a manual override of the automatic exposure is still entirely possible with these models—as long as you can set the film speed manually. In the following example, let’s assume you are using a film with a base sensitivity of ISO/ASA 100 (21° DIN).
-
For a "+" Correction (Overexposure): If you want to allow more light hit the film, you simply dial in a lower film speed on your camera. For a one-stop overexposure, you would change the setting to ISO/ASA 50 (18° DIN). For a more generous two-stop overexposure, you would select ISO/ASA 25 (15° DIN).
-
For a "-" Correction (Underexposure): Conversely, if you want to underexpose the image, you would select ISO/ASA 200 (24° DIN) for a one-stop reduction in light, or ISO/ASA 400 (27° DIN) for a two-stop underexposure.
By doing this, you have successfully "tricked" the camera's built-in light meter, forcing it to allow more or less light onto your film! In this short video, you can see the real-world visual results of using exposure compensation in the "+" range.
Here I present you a .pdf file as a download with examples
available for exposure correction, just click on the picture and the download will start!
The document is downloaded in English!

Important to Know!
Every camera light meter is calibrated to a neutral gray value with a reflectance of exactly 18% of the incident light. If your subject deviates from this ideal baseline—such as bright white snow or dark black backgrounds—the camera’s automatic exposure will not be accurate. A Kodak Gray Card is a standard reference tool used to achieve precise exposure and accurate color balance in photography. It features a flat, gray surface with a calibrated tonal brightness that serves as a neutral point of reference.
Positioned within the scene during setup, the gray card is framed by the lens to establish a reliable baseline for both exposure and color rendering. By placing the card close to the subject, photographers can adjust their manual camera settings to lock in the perfect look. Using a gray card is highly effective for securing dead-on exposures in tricky lighting conditions or when critical color accuracy is required, such as in studio work or product photography. By reading the card, the camera system or editor can calibrate exposure and color values against a known neutral baseline to deliver beautiful, true-to-life tones.
Practical Metering Tip
When shooting with a gray card, it is best practice to meter the card using your camera's spot or partial metering mode (or a dedicated handheld spot meter). Aim the metering circle directly at the center of the card and use that reading for your exposure.
It is highly recommended to cross-check your gray card reading (reflected light measurement) with an incident light reading taken via a handheld light meter. In most cases—provided the gray card is placed in the primary light source—the two readings will match up almost perfectly. To achieve a flawless match, you may need to tilt the card slightly toward the key light. It takes a little practice to master, but this technique yields incredibly accurate and repeatable results.
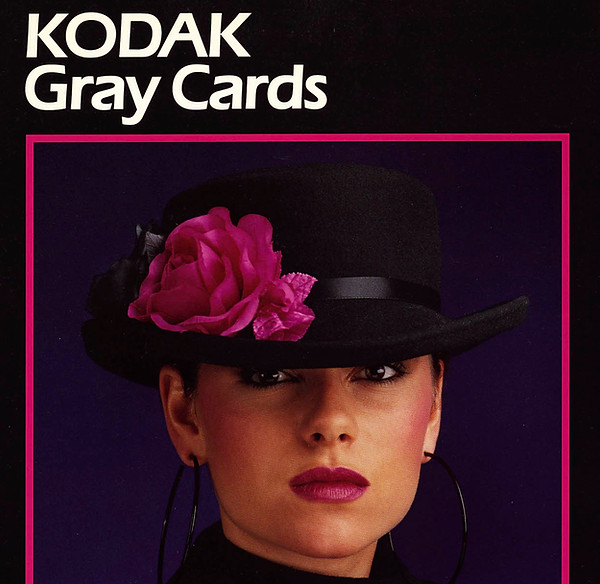
Original Product Information from Kodak
KODAK Gray Card / R-27 KODAK and the Munsell™ Color Services Lab of X-Rite®, Incorporated, have partnered to develop an enhanced calibration target for your photographic needs. The KODAK Gray Card / R-27 features the world-renowned Munsell 18% Reflectance (Gray) Neutral Patch. The KODAK Gray Card / R-27 package includes one 4 x 5 inch (10 x 13 cm) card, one 8 x 10 inch (20 x 25 cm) card, and an instructional manual. You can find the PDF download of the original brochure right here (click the image to start the download).

Back in the heyday of film photography, Kodak offered a professional gray card as well. You can find detailed information about this vintage model, which I still personally use to this day, right here:
Click on the image to start your download.
In addition to Kodak, various other manufacturers have produced and continue to offer reliable gray cards. Here is another example of a model that I personally use in my daily photography work as well.
Click on the image to instantly start downloading the PDF file.
